¶ The basic, how it works
It's 170m+ because that is the distance required for the enemy to temporary despawn so the game doesn't lag out the players.
But for some reason, all of the troops are linkes to the fabricators of the outpost. So if you destroy the fabricators outside the spawn range, they all permanently despawn at best. At worst, some troopers on the gun emplacement that comes with the setpiece stays.
It's also the reason why the pin scanner from any Scout armor can only see enemies within 170m. Not because of a scan range limit but because they temporary despawn outside of this radius — except for structures and gunship patrols.
However, enemy can not despawn outside of the 170m range if they are still in active/aggro mode. For some reason, normal troopers and commissars have way longer active time, that is why it's key to pin when the enemies are not even spawned in yet.
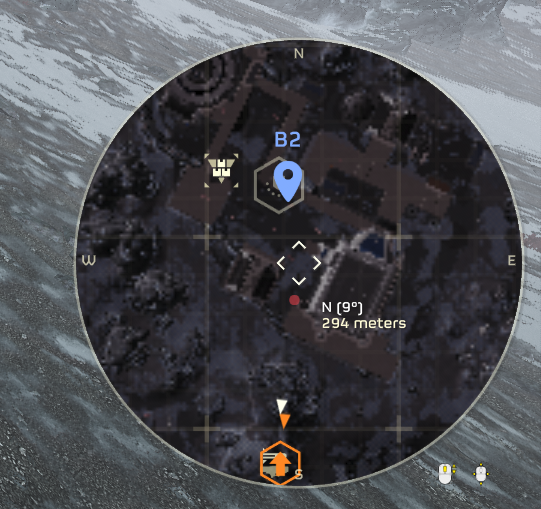

Examples of 1 enemy not despawning due to a previous aggro.
¶ Practical application and examples
This rule works for:
- Anti-Air Emplacements
- Detector Towers
- Mortar Emplacements
- Regular outposts
- Stratagem Jammers
You don't need to destroy all fabricators (if there are more than 1) for the enemies to despawn, as long as all players are 170m+ away.
The examples below are Stratagem Jammers related since this is where the rule get the most usage from.
Hadokken shot a Stratagem Jammer's fabricator from far away at 2m 18s and you can see all the enemies despawn at 4m.
Hadokken shot a Stratagem Jammer's fabricator from far away at 5m 32s and you can see all the enemies despawn at 6m 15s.
¶ Special cases
Special cases like the following main objectives or the Landing Zone (LZ) require all fabricators to be destroyed for the enemies to despawn.
- Command Bunkers (Destroy Command Bunkers)
- Obrital Cannons (Neutralize Orbital Defenses)
- Airbase Tower (Sabotage Air Base)
Although this rule doesn't find any practical usage for clearing Command Bunker, it offers huge time saving for Orbital Cannons, Airbase Tower and LZ.
¶ Landing Zone Clear
Hadokken's LZ clear.
¶ Airbase Tower Clear
Hadokken's Airbase Tower clear.
¶ Command Bunker Clear
Command Bunker clear.
¶ Credits
Anthony-chips' friend for helping piece the info together.
Hadokken for spending his time providing all of the examples footage.