¶ Overview
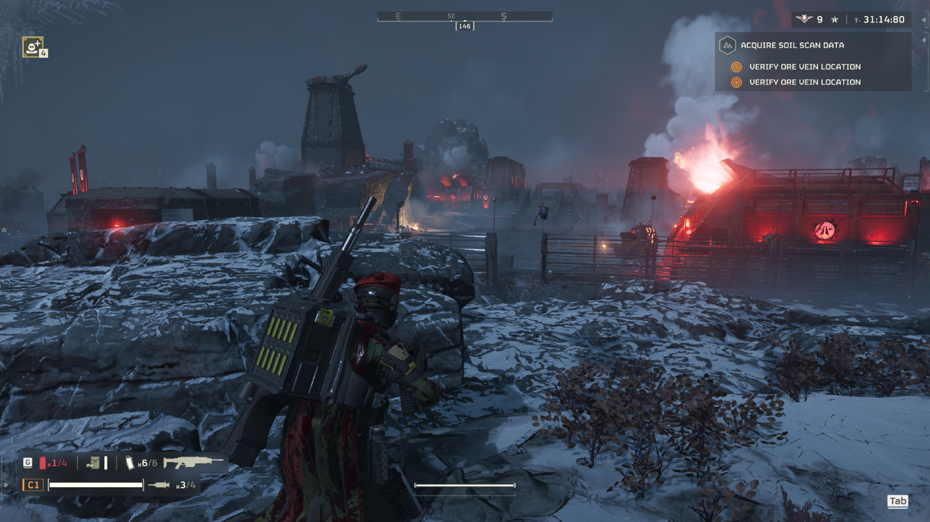
Aptly named for the number of disfigured Super Earth citizens found scattered all over this outpost (especially on its raised platform).
This outpost contains multiple Hulks and, on rare occasions, can spawn a factory strider.
¶ Outpost Design
¶ Identifying Features

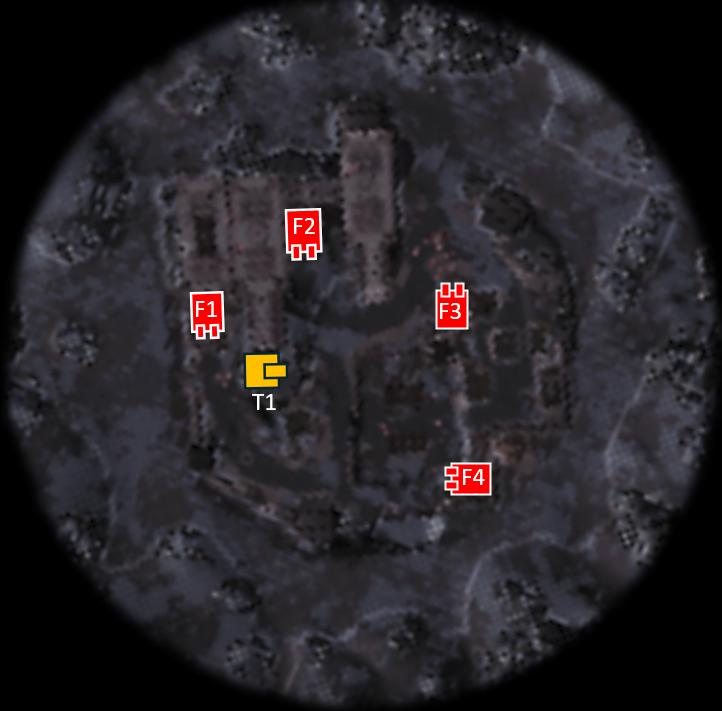
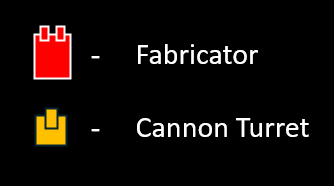
Visually: This outpost is protected by 1 cannon turret.
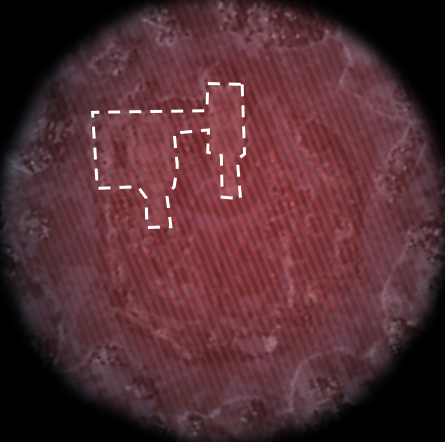
On the Map: You can see the walkway leading up to a raised platform as outlined. To me it looks like 3 icicles or empty shell casings.
Feel free to use your own mental shortcut to remember the defining feature of this base.
¶ Layout
¶ Outpost Clears
Commando, Quasar Cannon, Expendable Anti-Tank and Recoilless Rifle can all snipe this outpost from across the map fairly easily, similar to all Automaton outposts (other than Fortresses).
¶ Clark's Clears
¶ Autocannon
This is a quite safe and long way to clear this outpost.
I approach it facing F3, and take it out.
In the video because of terrain advantage I destroy F3 from afar but usually I'm right underneath the machine gun nest. This alerts bots to my position and they start to investigate.
I move in a counterclockwise fashion, destroying T1, F1, F4, and finally F2.
¶ Autocannon and Eagle Airstrike
A little bit more risk involved, but its a good way to destroy this outpost from one side with little repositioning.
I approach it facing F2. I destroy F3 first with an Eagle Airstrike, F2 with the Autocannon, and move clockwise.
I move to a position where I can destroy both F4 and F1. Destroying T1 is optional based on your appetite for risk, I know I'm not going to revisit the area so I leave immediately instead of spending time to destroy it.
¶ Monkeybeard's Clear
Uses the Autocannon and the Backshot Exploit. It's a way to clear this outpost from 2 basic positions. Due to terrain, my P1 was less than ideal, and my P2 was closer than I'd want to be ideally.
¶ Prosecco's Clear
Uses the Autocannon and an Eagle Airstrike.
This method is best done when approaching from the left/right side of the outpost, and is almost identical to the previous with the only difference being the Eagle Airstrike's direction of attack to destroy F3.
When approaching the outpost from the side (opposite side also works), calling an Eagle Airstrike on F3 from that side can save slightly more time during a mission.
¶ Boneless's Clear
Uses the Autocannon and an Eagle Airstrike.
This clearing method require you to be on the backside of the outpost.
Destroy the cannon turret and the 2 fabricators on the back and our POV's right side of the outpost, which hope to gain the enemies' attention and LOS toward the 2nd destroyed fabricator's explosion which then will help with going to our POV's left side of the base to line up an Eagle Airstrike throw destroying the remaining 2 fabricators with ease.
¶ Hadokken's Clears
¶ Front Entrance Clear
Uses the Commando and Thermite grenades.
Very quick and safe clear. Commando can be swapped out with an Exploding Crossbow/Quasar Cannon/Expendable Anti-Tank.
Preferred method if it makes sense to come in at this angle or there isn't a factory strider.
¶ Back Entrance Clear
Uses the Jump Pack, the Exploding Crossbow and Thermite grenades.
Slower and a bit more risky since you'll have to enter the base and either take out or avoid the Automatons, but generally this can be consistently done with little to no issue.
The Exploding Crossbow is required to explode the fence and take out 2 fabricators.
You can take out the far left fabricator after jumping out to the ground (as shown in the Back Entrance Clear with Factory Strider section below). Depending on how hot the outpost is, it might be the safer option.
¶ Back Entrance Clear with Factory Strider
Uses the Jump Pack, the Exploding Crossbow and Thermite grenades.
Very similar to the Back Entrance Clear, however having the factory strider spawn blocks the far left fabricator from line of sight, forcing a different approach to taking it out.
If you are not prone the factory strider will fire its cannon turret at you at the top of the ramp. This can be used to bait it into taking out the fabricator next to the ramp, but you will likely get ragdolled.