¶ Overview
¶ Unlocking warbonds
If you're new to the game, don't have a ton of money to put into Premium warbonds and don't know what stuff to unlock first in order to be effective at low level, this page gathers recommendations from speedrunners' perspective and experience.
Premium warbonds cost  1000 Super Credits each, an in-game currency you can either farm or buy. You will then need
  Medals to unlock equipment within the warbonds. You can only farm them by completing missions, daily objectives, major orders, or by exploring maps.
See the How to farm everything page to optimize your farming sessions.
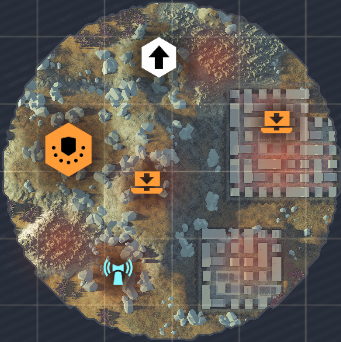
¶ Spawner glossary
 Automatons spawners are called fabricators. Regular ones look like rectangular cubes while bulk fabricators (found in colony and megacity maps) look like upright coffins
 Terminids spawners are called bug holes. Giant ones which spawn Bile Titans are called Titan holes
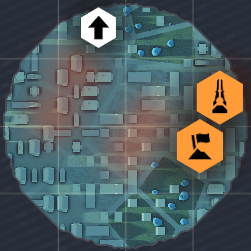
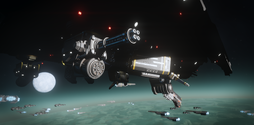
![]() Illuminate spawners are called warp ships
Illuminate spawners are called warp ships
¶ Map glossary
There are currently 3 types of map: regular, colony and megacity. All 3 are available for Automatons and Terminids, while only colonies and megacities are available for Illuminates.

¶ Gameplay style
¶ Lethal and fast
There are 2 main ways to play Helldivers 2:
- Group up and clear objectives together
- Split up and cover alone larger map portions
Even if you play within a squad, the gameplay a lot of us consider to be the most effective is to be lethal and fast. The lesser enemies you fight, the better. The aim is to be extremely mobile in order to clear the map while outrunning enemies.
¶ Warbonds grocery list

¶ Armors
Helmet and cape don't matter. Just pick what you like.
¶ All-purpose passive
Scout is the armor passive to be stealthy and fast.
Markers placed on the map will generate radar scans every 2.0s. Reduces range at which enemies can detect the wearer by 30%
The Helldivers Mobilize warbond contains 3 of them. Infiltrator is a good fit until you unlock Trailblazer Scout.
It's of the lightest armors so you will tank very little damage but it is by far the best armor to outrun enemies since its stamina stats offset the lack of protection. It also allows you to perform greater leaps the Jump Pack.
Combat Technician is better to tank damages but it will slow you down.
| Name | Category | Passive | Warbond | Page | Cost | Armor | Speed | Stamina |
|---|---|---|---|---|---|---|---|---|
| Infiltrator | Light | Helldivers Mobilize | 1st | 3 |
70 | 530 | 115 |
| Name | Category | Passive | Warbond | Page | Cost | Armor | Speed | Stamina |
|---|---|---|---|---|---|---|---|---|
| Trailblazer Scout | Light | Helldivers Mobilize | 7th | 50 |
50 | 550 | 125 |
| Name | Category | Passive | Warbond | Page | Cost | Armor | Speed | Stamina |
|---|---|---|---|---|---|---|---|---|
| Combat Technician | Medium | Helldivers Mobilize | 8th | 60 |
100 | 500 | 100 |
¶ Terminids specific passive
Against Terminids, Med-Kit armors are a common pick.
Increases initial inventory and holding capacity of stims by +2. Increases stim effect duration by 2.0s.
The additional stims and extended stim effect are of a great help since outrunning Terminids is harder than outrunning Illuminate and Automatons.
The only light Med‑Kit armor is in the Superstore. A Medium one is in the Helldivers Mobilize warbond.
| Name | Category | Passive | Warbond | Page | Cost | Armor | Speed | Stamina |
|---|---|---|---|---|---|---|---|---|
| Bonesnapper | Medium | Helldivers Mobilize | 4th | 15 |
100 | 500 | 100 |
| Name | Category | Passive | Warbond | Page | Cost | Armor | Speed | Stamina |
|---|---|---|---|---|---|---|---|---|
| Trench Paramedic | Light | Superstore | / | 250 |
65 | 536 | 118 |
¶ Things always come in threes
Servo-Assisted passive is another quite common pick.
Increases throwing range by 30%. Provides +50% limb health.
The increased throwing range is sometimes crucial in certain speedruns and, more generally, allows objectives to be cleared by reducing the travel distance.
The only light Servo-Assisted armor is in the Superstore. A Medium one is in the Steeled Veterans warbond.
| Name | Category | Passive | Warbond | Page | Cost | Armor | Speed | Stamina |
|---|---|---|---|---|---|---|---|---|
| Steel Trooper | Medium | Steeled Veterans |
1st | 18 |
100 | 500 | 100 |
| Name | Category | Passive | Warbond | Page | Cost | Armor | Speed | Stamina |
|---|---|---|---|---|---|---|---|---|
| Legionnaire | Light | Superstore | / | 150 |
50 | 550 | 125 |
¶ Weapons
¶ Primary weapons
¶ Helldivers Mobilize
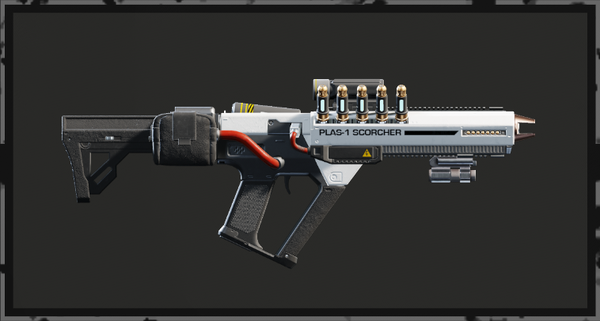
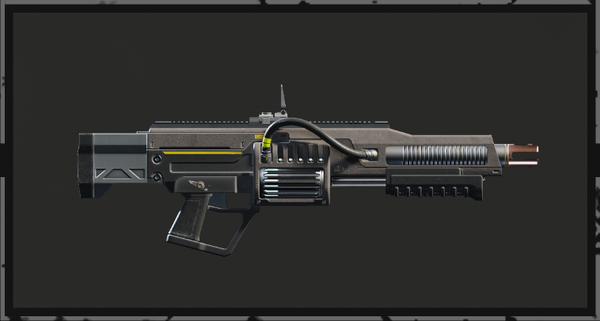
The last page of the Helldivers Mobilize warbond features the Scorcher which is a prime weapon to use against Illuminate and Automatons.
But since you'll have to spend a lot of medals to get there, here are suggestions of other weapons found in the Helldivers Mobilize warbond.
| Name | Category | Warbond | Page | Cost | Good against |
|---|---|---|---|---|---|
| Punisher | Shotguns | Helldivers Mobilize | 1st | 4 |
Automatons · Terminids · |
| Breaker | Shotguns | Helldivers Mobilize | 4th | 20 |
Automatons · Terminids · |
| Name | Category | Warbond | Page | Cost | Good against |
|---|---|---|---|---|---|
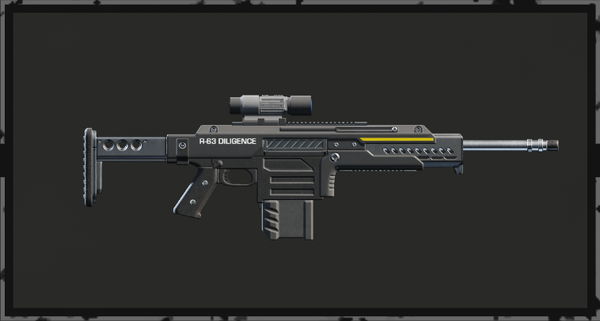
| Diligence | Marksman Rifle | Helldivers Mobilize | 2nd | 8 |
Automatons · |
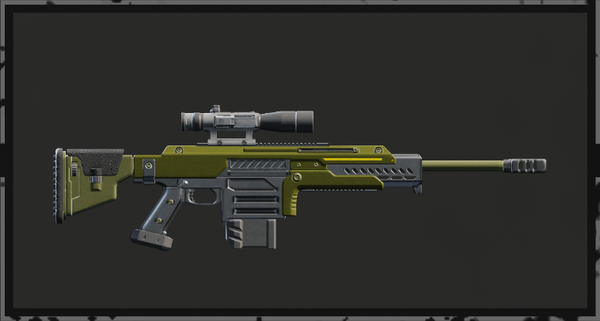
| Diligence Counter Sniper | Marksman Rifle | Helldivers Mobilize | 7th | 40 |
Automatons · |
| Name | Category | Warbond | Page | Cost | Good against |
|---|---|---|---|---|---|
| Scorcher | Energy‑Based | Helldivers Mobilize | 10th | 75 |
Automatons · |
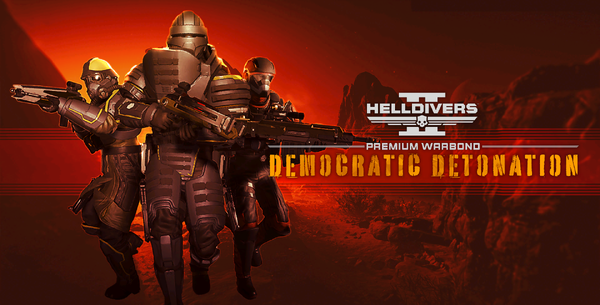
¶ Democratic Detonation
The very first Premium warbond we recommend to unlock is Democratic Detonation.
It contains the Exploding Crossbow and the Eruptor: two excellent weapons against all factions since they both deal with enemies, structures and spawners.

| Name | Category | Warbond | Page | Cost | Good against |
|---|---|---|---|---|---|
| Eruptor | Explosive | Democratic Detonation |
2nd | 60 |
Automatons · Terminids · |
| Exploding Crossbow | Explosive | Democratic Detonation |
3rd | 80 |
Automatons · Terminids |
¶ Alternatives
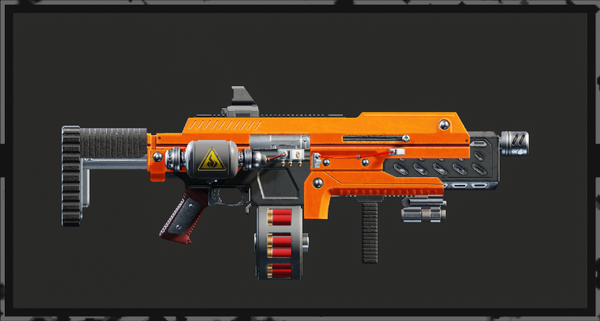
Two other good weapons (against Terminids first and foremost) are the Blitzer and the Breaker Incendiary.
The Breaker Incendiary's spread and fire effect are offset by a severe lack of ammunition. On the other hand, the Blitzer has lower DPS but infinite ammunition and stuns most enemies.
| Name | Category | Warbond | Page | Cost | Good against |
|---|---|---|---|---|---|
| Blitzer | Energy-Based | Cutting Edge |
3rd | 80 |
Terminids |
| Breaker Incendiary | Shotguns | Steeled Veterans |
2nd | 60 |
Terminids |
¶ Secondary weapons
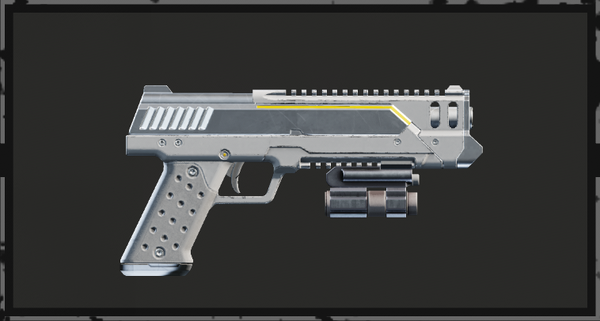
The Servants of Freedom warbond contains the most deadly secondary weapon of the game: the Ultimatum. It can:
- One-shot fabricators, bug holes, shielded warp ships, Spore Spewers
- Two-shot bulk fabricators, Command Bunkers
- Deal with heavy enemies: hulks, tanks, bunker turrets, heavy turrets, chargers, bile titans, impalers, fleshmobds, harvesters
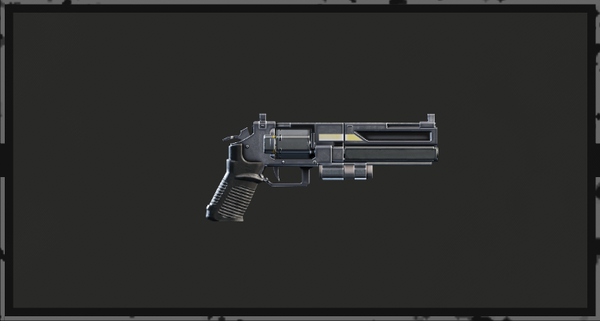
2 other good secondary weapons are the Senator and the Verdict. The Senator deals much more damage (can kill hulks if shot in the eye) than the Verdict but it has less DPS and ammunition.
| Name | Category | Warbond | Page | Cost | Good against |
|---|---|---|---|---|---|
| Ultimatum | Special Secondary | Servants of Freedom |
2nd | 40 |
Automatons · Terminids · |
| Senator | Pistols | Steeled Veterans |
1st | 15 |
Automatons · Terminids · |
| Verdict | Pistols | Polar Patriots |
3rd | 60 |
Automatons · Terminids · |
¶ Throwables
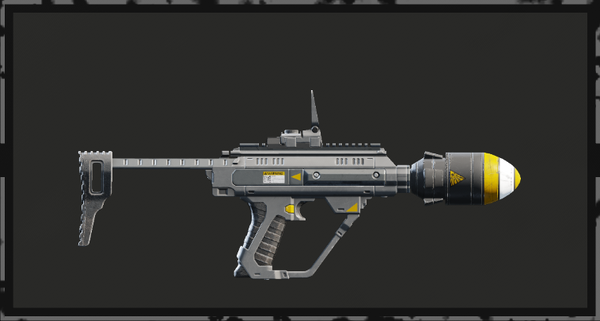
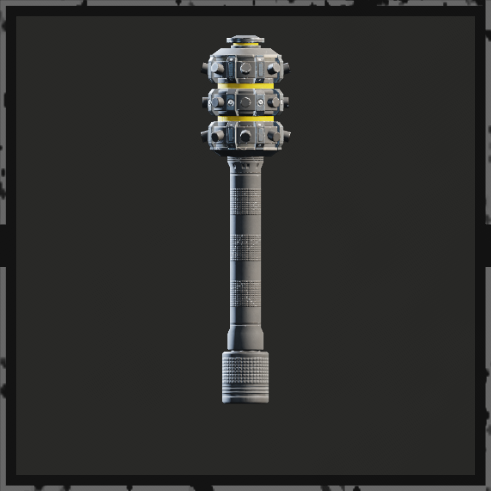
Thermite grenades are great against Automatons and Illuminate.
They have a sticky effect and can destroy all spawners (including bulk fabricators if thrown in a vent) except Titan holes and deal with heavy enemies and enemy structures.
| Name | Category | Warbond | Page | Cost | Good against |
|---|---|---|---|---|---|
| Thermite | Special Throwable | Democratic Detonation |
1st | 15 |
Automatons · |
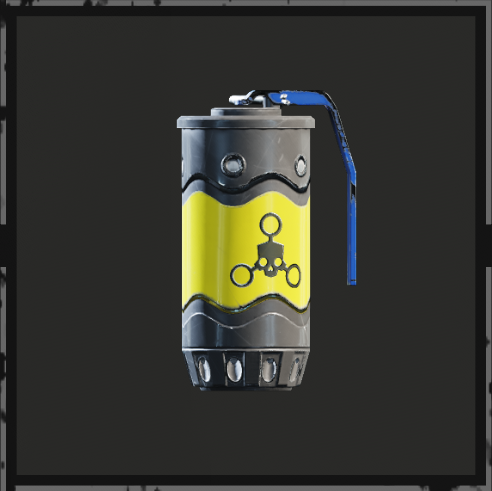
Gas grenades are also a good choice, especially against Terminids.
They can close bug holes while creating an Area of Effect pretty effective against light and medium enemies.
| Name | Category | Warbond | Page | Cost | Good against |
|---|---|---|---|---|---|
| Gas | Special Throwable | Chemical Agents |
1st | 30 |
Terminids · |
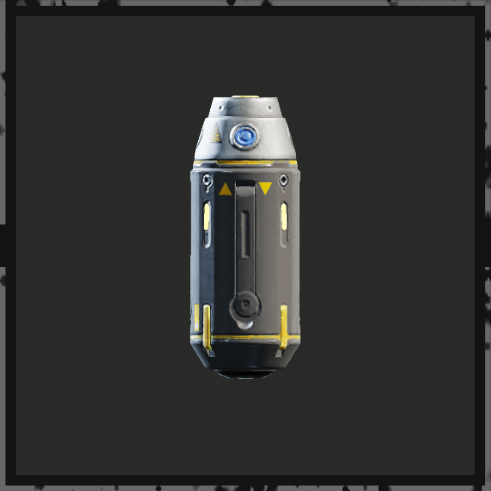
For a more specific use, Seeker grenades multiply kills (meaning 1 kill is counted as 4+). It is an oddity shared by the Hellbomb, the Portable Hellbombs and the Guard Dog K‑9.
It's very useful to clear/complete the following missions/objectives:
- Eradicate Automaton Forces/Terminid Swarm
- Purge Illuminate (side objective)
| Name | Category | Warbond | Page | Cost | Good against |
|---|---|---|---|---|---|
| Seeker | Special Throwable | Servants of Freedom |
3rd | 65 |
Automatons · Terminids · |
¶ Boosters
See the boosters (for speedrunning) detailed page.
Boosters are key to improve your survivability and effectiveness. We usually prioritize those that enhance mobility.
| Name | Warbond | Page | Cost | Effect |
|---|---|---|---|---|
 Hellpod Space Optimization Hellpod Space Optimization |
Helldivers Mobilize | 3rd | 15 |
Helldivers come out of the Hellpod fully stocked on Ammo, Grenades, and Stims |
 Vitality Enhancement Vitality Enhancement |
Helldivers Mobilize | 4th | 20 |
Provides minor damage reduction from all sources for all Helldivers |
 Stamina Enhancement Stamina Enhancement |
Helldivers Mobilize | 7th | 75 |
Increases all Helldivers' stamina capacity and recovery |
 Muscle Enhancement Muscle Enhancement |
Helldivers Mobilize | 9th | 70 |
Allows Helldivers to traverse difficult terrain with ease |
PLEASE NOTE: the 4 boosters above are fine to use while you find your footing with the game.
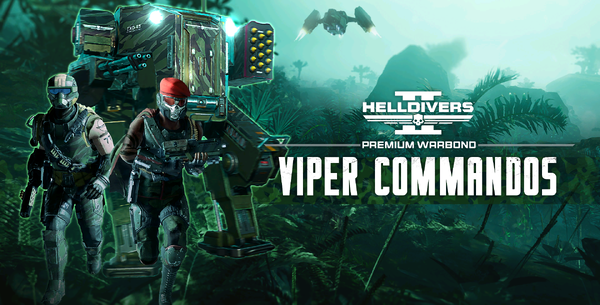
Another booster we recommend instead of Stamina Enhancement (in regular/colony maps) or Muscle Enhancement (in megacity maps) is Experimental Infusion.
| Name | Warbond | Page | Cost | Effect |
|---|---|---|---|---|
 Experimental Infusion Experimental Infusion |
Viper Commandos |
3rd | 80 |
Temporarily increase movement speed and damage reduction |
The Expert Extraction Pilot reduces extraction time — a great choice to maximize efficiency, all the more if you're interested into speedrunning the game.
| Name | Warbond | Page | Cost | Effect |
|---|---|---|---|---|
 Experimental Infusion Experimental Infusion |
Democratic Detonation |
2nd | 55 |
Lowers the time it takes for the extraction shuttle to reach the extraction beacon |
Once you've unlocked them, we strongly recommend to bring the 2 below in all situations:
¶ Stratagems
¶ Jump Pack and Grenade Launcher
You only need to reach level 25 to unlock every useful stratagem. Beyond this threshold, levels only reflect your game time.
While speedrunning sometimes requires very specific builds, an efficient speedy casual gameplay revolves around common loadouts.
The one classic denominator is the Jump Pack. It allows you to:
- Traverse great distances
- Access higher or lower areas of the map
- Outrun enemies
- Infiltrate outposts
- Escape from deadly situations
- Take cover on terrain (e.g. atop a flat rock during extraction)
No matter from where you leap, you won't take fall damage. However, a few tips:
-
Release movement keys before landing to avoid ragdolling.
-
Avoid jumping too close to a downhill slope — if the thrusters ignite over a sloped surface, it might count as a fall and deal damage.
The suggestions below assume that your primary/secondary weapon can destroy spawners.
If this is not the case, we recommend bringing the Grenade Launcher.
¶  Automaton loadout
¶ Regular/colony maps
| Name | Level/Warbond | Cost | Early alternative(s) |
|---|---|---|---|
| 15 |  10.000 10.000 |
||
| 15 | 10.000 |
/ | |
| 15 · 18 | 8.000 · 7.500 |
||
| 8 | 6.000 |
/ |
¶ Megacity maps
| Name | Level/Warbond | Cost | Early alternative(s) |
|---|---|---|---|
| 15 | 10.000 |
||
| 15 · 18 | 8.000 · 7.500 |
||
| 25 | 25.000 |
/ | |
| 8 | 6.000 |
/ |
¶  Terminids loadout
¶ Regular/colony maps
| Name | Level/Warbond | Cost | Early alternative(s) |
|---|---|---|---|
| 15 | 10.000 |
||
| 15 | 10.000 |
/ | |
| 8 | 6.000 |
/ | |
| 1 | 1.500 |
/ |
¶ Megacity maps
| Name | Level/Warbond | Cost | Early alternative(s) |
|---|---|---|---|
| 15 | 10.000 |
||
| 8 | 6.000 |
/ | |
| 25 | 25.000 |
/ | |
| 1 | 1.500 |
/ |
¶  Illuminate loadout
¶ Regular/colony maps
| Name | Level/Warbond | Cost | Early alternative(s) |
|---|---|---|---|
| 15 | 10.000 |
||
| 15 | 10.000 |
/ | |
| 8 | 6.000 |
/ | |
| 1 | 1.500 |
/ |
¶ Megacity maps
| Name | Level/Warbond | Cost | Early alternative(s) |
|---|---|---|---|
| 15 | 10.000 |
||
| 8 | 6.000 |
/ | |
| 25 | 25.000 |
/ | |
| 1 | 1.500 |
/ |
¶ Ship Modules
Since all these suggestions are aimed at speed and efficiency, we're going to give priority to reducing cooldown time, getting more Eagle uses and benefiting from other crucial improvements (Hellpod steering, Orbital Barrages' effectiveness).
Don't neglect module upgrades — even one or two well-chosen ones can make your entire build much smoother to play.
¶ Credits
Helldivers Wiki for some assets and information.