¶ Overview
Achieving top times in Any% speedrun requires to manipulate the respawn direction of your hellpod. Doing so will allow you to move from one place to another (outpost, target location, higher places, etc.) while depleting your reinforcements.
Every respawn involves a fair degree of RNG (notably due to terrain elements poclocking you: rocks, buildings, trees, canyons, etc.), it is possible to manipulate it by combining 4 points:
- Hellpod choice.
- Host position.
- Camera orientation.
- Torso warp.
¶ Moving tactics
¶ Hellpod choice
Before choosing the landing point, you may pick 1 of 4 hellpods:

Your choice will affect your position on the screen where you are more likely to respawn.
If you need to move to the right part of the map, it's therefore better to pick either the middle right or the right hellpod.
¶ Host position
In a multiplayer run, a full squad death (when everyone dies and gets reinforced without having to type the stratagem), the squad will respawn where the host died.
In this run, we must destroy 7 fabricators. 6 are located in the Fortress and 1 in a nearby outpost.
We split up at the beginning: I go to the outpost and MuxaRez (the host) goes to the Fortress so that we can respawn there to destroy the remaining fabricators.
¶ Camera orientation
Looking around with your camera is the only "movement" you can do while waiting to respawn - until it starts its upward movement to reach your reinforcement hellpod.
During these few seconds, it is absolutely crucial to point your camera in the direction where you want you repod.
¶ Torso warp
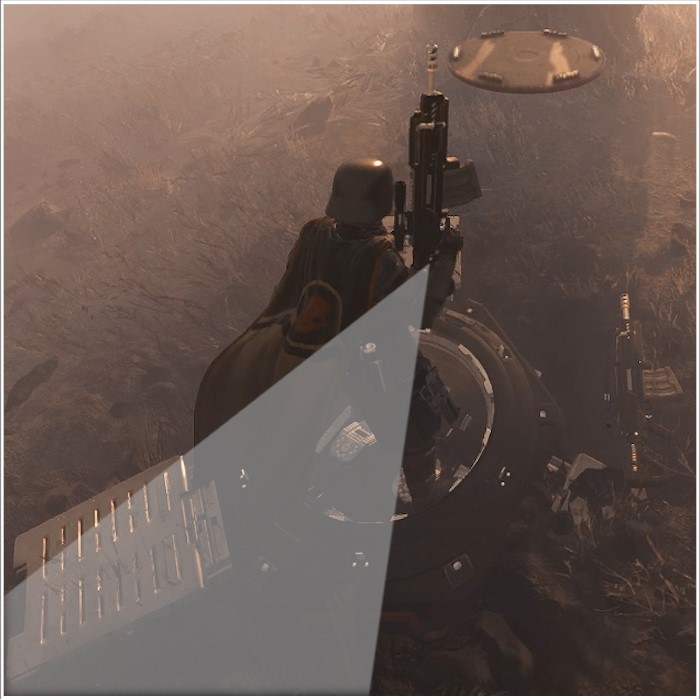
During this moment where you can do nothing but move your camera, you may have noticed that it remains "fixed" to your dead torso.
Its last known position also counts in calculating where you are going to repod.
It's all the more visible when you kill yourself with the Eruptor. This weapon is by far the best one to propel yourself in order to traverse greater distances.
Every Helldiver is right-handed so if you don't rotate before firing, your torso will likely float to the left-bottom corner of your screen.
¶ Credits
Canis for sharing and testing all the moving tactics.